0 - Setting up
Table of contents
Vagrant
I prefer to set up my environment in a vm, specifically using Vagrant. Here is just standard vagrant stuff.
mkdir browserpwnz
cd browserpwnz
vagrant init ubuntu/bionic64
As the ubuntu box only comes with 10gb and it’s definitely not enough, install the disksize plugin.
vagrant plugin install vagrant-disksize
Then open the Vagrantfile and add this line into the config. I decided to give it 20GB but it could be anything.
Vagrant.configure('2') do |config|
  ...
  config.disksize.size = '20GB'
end
The default cpu and ram settings for vagrant are quite stingy. To complete the build process successfully we need to give it more power.
Vagrant.configure('2') do |config|
  ...

  config.vm.provider "virtualbox" do |v|
    v.memory = 1024
    v.cpus = 2
  end

end
Now as we do vagrant up, vagrant will start our vm and the plugin will help us to resize the hard disk image. When the vm has finished booting, we can get a shell using vagrant ssh.
~/browserpwnz
▶ vagrant up

~/browserpwnz
▶ vagrant ssh
Welcome to Ubuntu 18.04.2 LTS (GNU/Linux 4.15.0-50-generic x86_64)

 * Documentation:  https://help.ubuntu.com
 * Management:     https://landscape.canonical.com
 * Support:        https://ubuntu.com/advantage

 System information disabled due to load higher than 2.0

 * Ubuntu's Kubernetes 1.14 distributions can bypass Docker and use containerd
   directly, see https://bit.ly/ubuntu-containerd or try it now with

     snap install microk8s --classic

  Get cloud support with Ubuntu Advantage Cloud Guest:
    http://www.ubuntu.com/business/services/cloud

56 packages can be updated.
0 updates are security updates.


Last login: Wed Jun  5 04:58:29 2019 from 10.0.2.2

vagrant@ubuntu-bionic:~
If we run df -h, we may see that our hard disk still only has 10GB. To make it the size we wanted, run sudo cfdisk /dev/sda. We will be presented with a nice looking interface. From here, just navigate to the /dev/sda1 partition and choose the resize option at the bottom.
(Something like the following but there should be a “free space” partition below /dev/sda1)
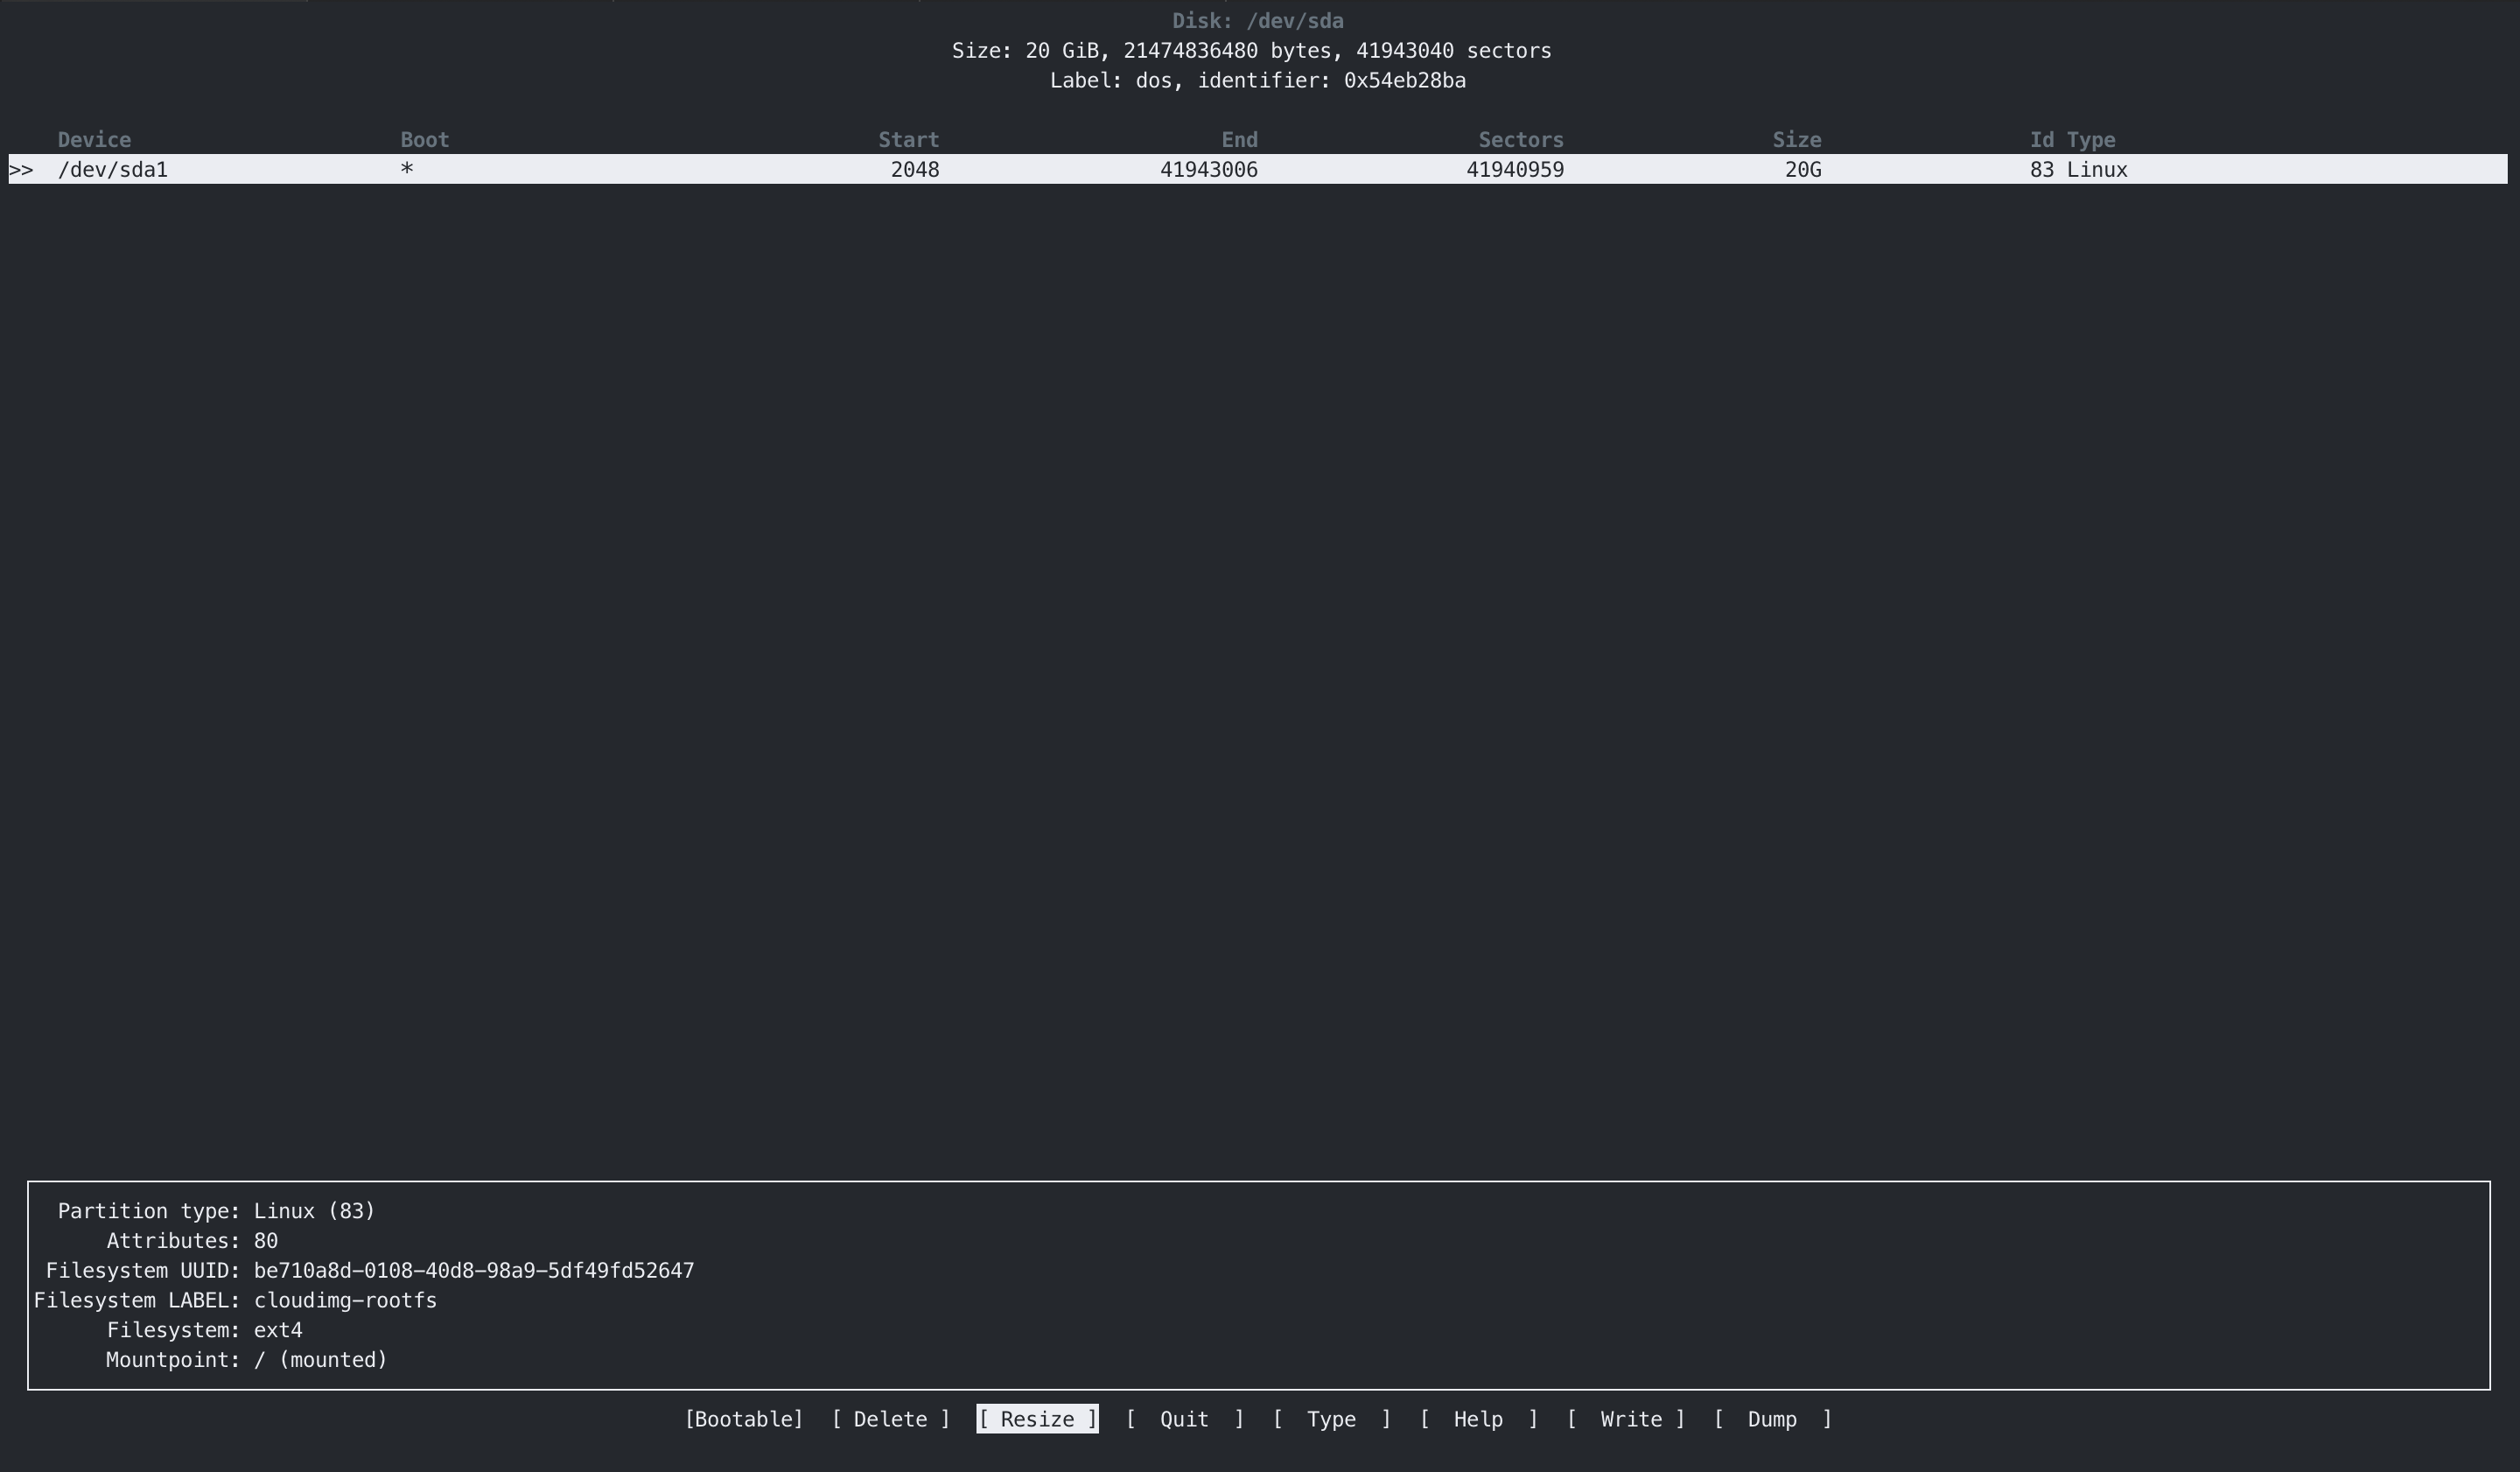
Once done, choose write to save the settings, and run sudo resize2fs -P -f /dev/sda1. (Not sure what the arguments do but it works I don’t care)
v8
Now that the environment is ready, it is time to build v8.
Fetch source
There is this depot_tools repository that contains useful tools that will be needed in the following steps.
cd
git clone https://chromium.googlesource.com/chromium/tools/depot_tools.git
export PATH=$PATH:~/depot_tools
gclient   # to update depot_tools
Once that’s done, we can fetch the v8 repository.
mkdir ~/v8
cd ~/v8
fetch v8
cd v8
Build v8
Using gm
There is a helper script that does all the work to build v8 in one command.
alias gm=~/v8/v8/tools/dev/gm.py
gm x64.debug
Manual way
The following steps may be longer but helpful if the build process above keeps failing, possibly due to insufficient RAM or CPU.
Generate build files using v8gen
alias v8gen=~/v8/v8/tools/dev/v8gen.py
v8gen x64.debug
Compile v8
Here is the problematic part as described earlier. I kept getting errors when using the commands in the docs. In the case where the compilation keeps failing, change the flags -j (number of jobs in parallel) and -k (number of fails before giving error). The following worked quite well for me.
ninja -C out/x64.debug -j 2 -k 10
That’s it, d8 can be found under ~/v8/v8/out/x64.debug/.
Turbolizer
Turbolizer is a tool to visualize TurboFan’s (v8’s JIT compiler) sea-of-nodes (how TurboFan represent JS code) graph.
Since turbolizer is a web app running on node.js, install nodejs first.
curl -sL https://deb.nodesource.com/setup_10.x | sudo -E bash -
sudo apt-get install -y nodejs
Then build the files needed for turbolizer.
cd ~/v8/v8/tools/turbolizer
npm i
npm run-script build
With this, we can start the web server anytime and open the visualizing tool in Chrome.
python -m SimpleHTTPServer
Alternatively, there is also a hosted version of turbolizer here.
GDB
There is a very helpful gdbinit script for v8 debugging here, just copy the contents into ~/.gdbinit.
References
- https://v8.dev/docs/source-code
- https://v8.dev/docs/build-gn
- https://doar-e.github.io/blog/2019/01/28/introduction-to-turbofan/#preparing-turbolizer
- https://thlorenz.com/turbolizer/
- https://cs.chromium.org/chromium/src/v8/tools/gdbinit